
|

|
To begin with Larry Zoeller is the original maker of the down sized Kinyon style air hammer and a link to his web site
is on my links page.I happen to come across mention of it in a blacksmithing forum some years ago and decided that was a perfect
size for the shop I intended.At the time he had no plans for it and after I e-mailed him he sent me some quick drawings he'd
made along with some measurements.I also had the Kinyon air hammer plans avalible from ABANA so had a place to start.Now this
hammer cost me a little over 200 bucks to build and most of that was the air parts.My frame steel came from the scrap yard
and I had a few tools(buzz box welder,Harbor freight drill press and a metal band saw, and 4.5" angle grinder)The main
beam is a 6" and was cut with that little bandsaw.There is alot that is bolted together on the hammer and it had to be done
precisely(measure a half dozen times and cut or drill once)I changed a few things on the hammer to what I wanted and hopefully
improved the design.The guides for the hammer call for brass and I used UHMW plastic(ultra high molecular weight )This stuff
works much better and I have had it in my hammer for years now and would never go back to brass again.This stuff was designed
just for this type of application.It has a low drag coeficient(its slides great) and is tough as hell or abrasion resistant.It
is also cheaper to get than brass is at this point in time.I aslo went with a 2" bore cylinder instead of using the 1.5" that
was called for.The reason for that was it gave much better ram control.The ram seems to float better and is easier to control
the hits.My little roller valve that controls the stroke is adjustable up or down.When you work with tooling the valve is
up higher giving you room to work with the tooling.When the valve is down low the stroke is shorter and hammer cycles faster
with short little hits.The other thing is my dies are welded in place I have a topsection of a piece of RR track for the bottom
and a block of S7 tool steel for the top die.I found it easier to use tooling for drawing and the like.I also wanted my hammer
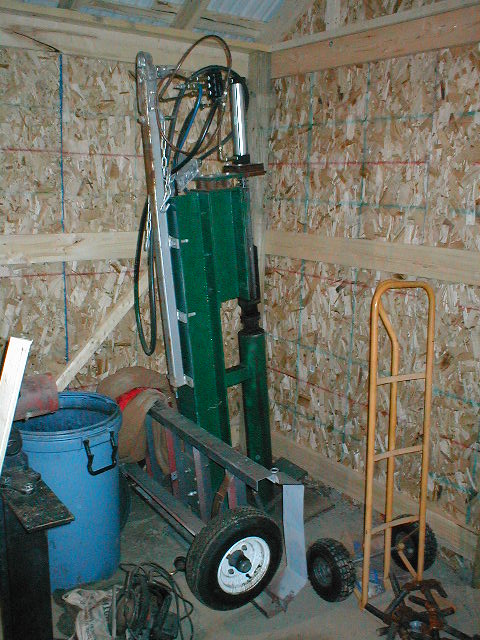
to be portable,able to move it around easily so I have a bolt on axle and tongue so it could be towed by anything with
a trailer hitch or I can move it by hand just by tipping onto the wheels.This allowed me to take the hammer to meet if I wanted.When
building your hammer and you are buying your air parts the cylinder wants to have large ports the bigger the better.The
main directional valve should also have large ports or a high CV value(the amount of air it is able to move through it)The
idea is the hammer works by moving air so the more air you can move through it the better and faster your hammer works.I will
be getting some pictures of my hammer of the air plumbing and will put that here also.There are many other modifications that
other folks have used but the for the most part you want to get the hammer built then modify it later after you have had a
chance to work with it and know how it runs.One other thing with my hammer is I bought a foot valve for it and left the hose
long so I can move that valve around and use the hammer from either side or the front and have the valve right under my foot
where I need it.It also has a treadle set up so I can switch over to that if I want.One of the things I learned is in some
of the pics it shows the main directioal valve is not attached to anything other than via the piping into the cylinder.The
valve should be attached to the hammer frame because after a while of use the vibration caused the pipe to brake off at the
valve and I had to change it all out.
| one of the boys |
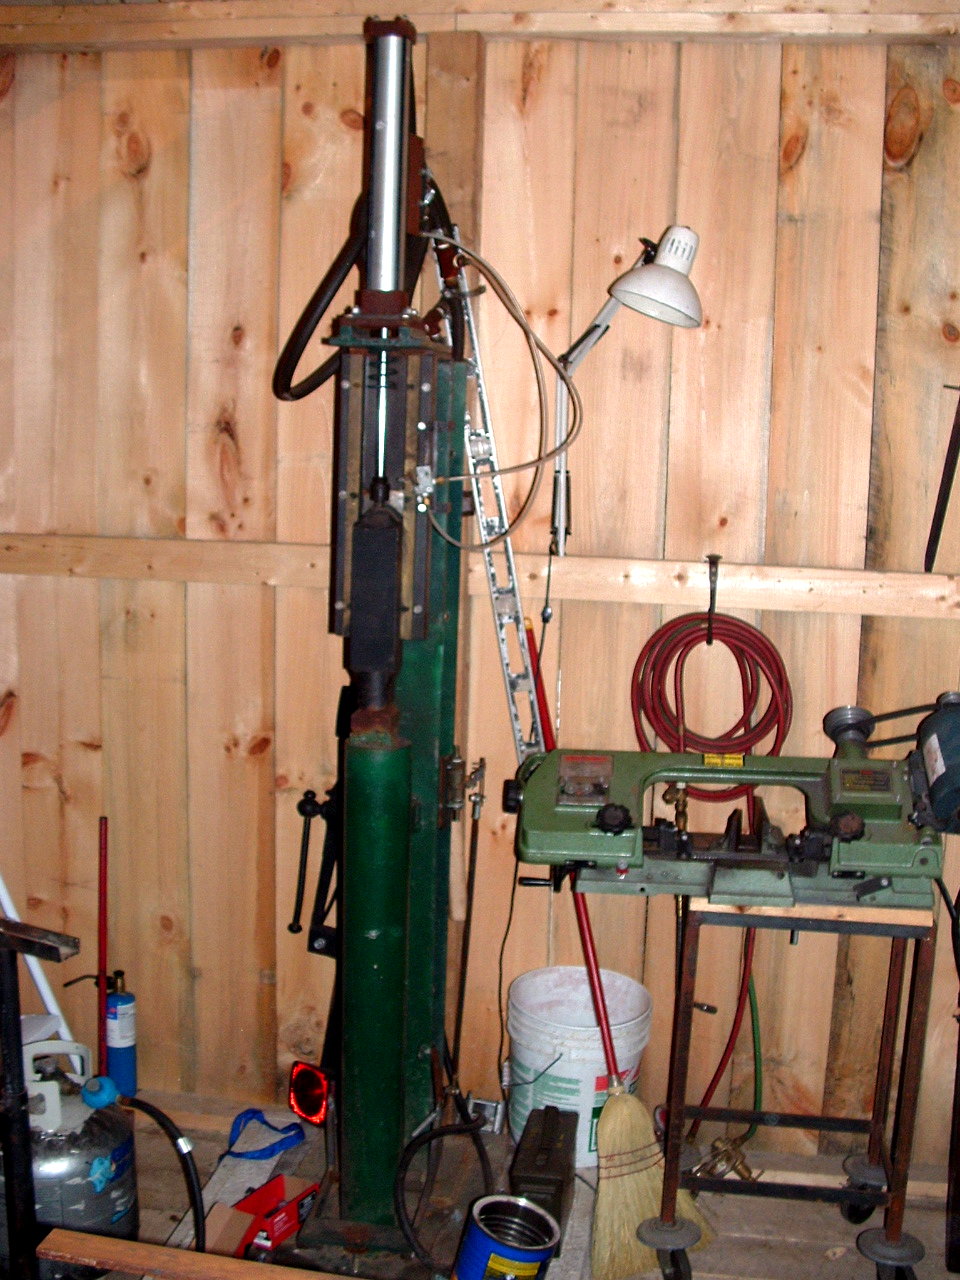
|
| This is the larger of my 2 hammers |
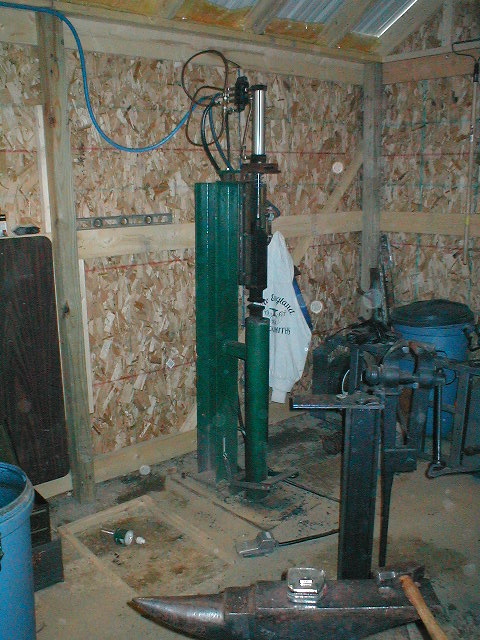
|
| trailer mode |
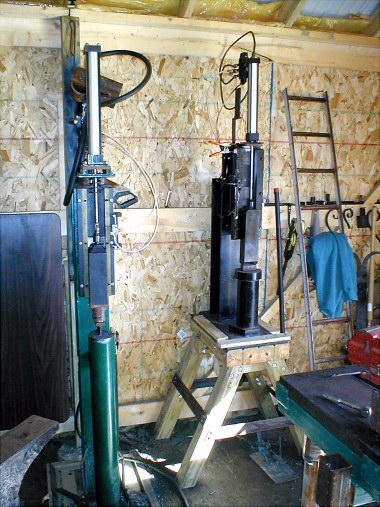
|
| My air hammers |
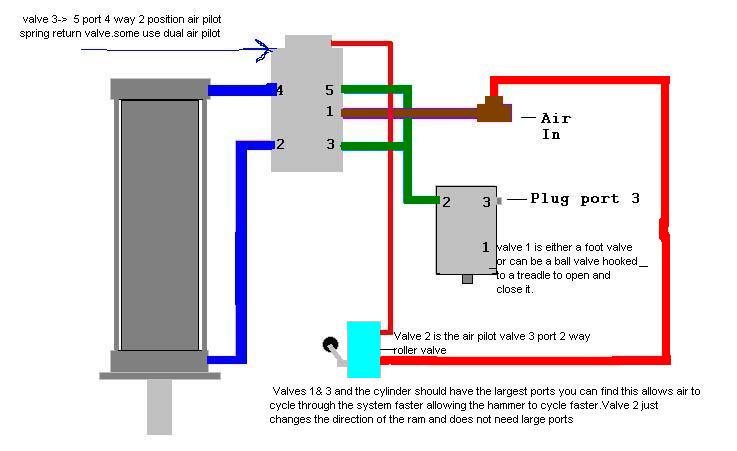
Direct link to Larry Zoellers plans
|

|

|

|

|

|
|
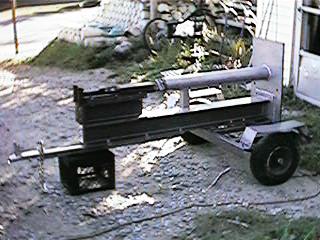
| ready to hook to the truck |
|

|

|


